Showing posts with label Sally Hansen Crackle Overcoat. Show all posts

Monday, October 31, 2011

Glambo's Bloody Manicure

Happy Halloween Everybody!

We created three 'bloody' manicures using only the bottles of nail polish to create this effect. No nail art tools were used, making this simple and easy for anyone to imitate as the perfect accent to any costume.


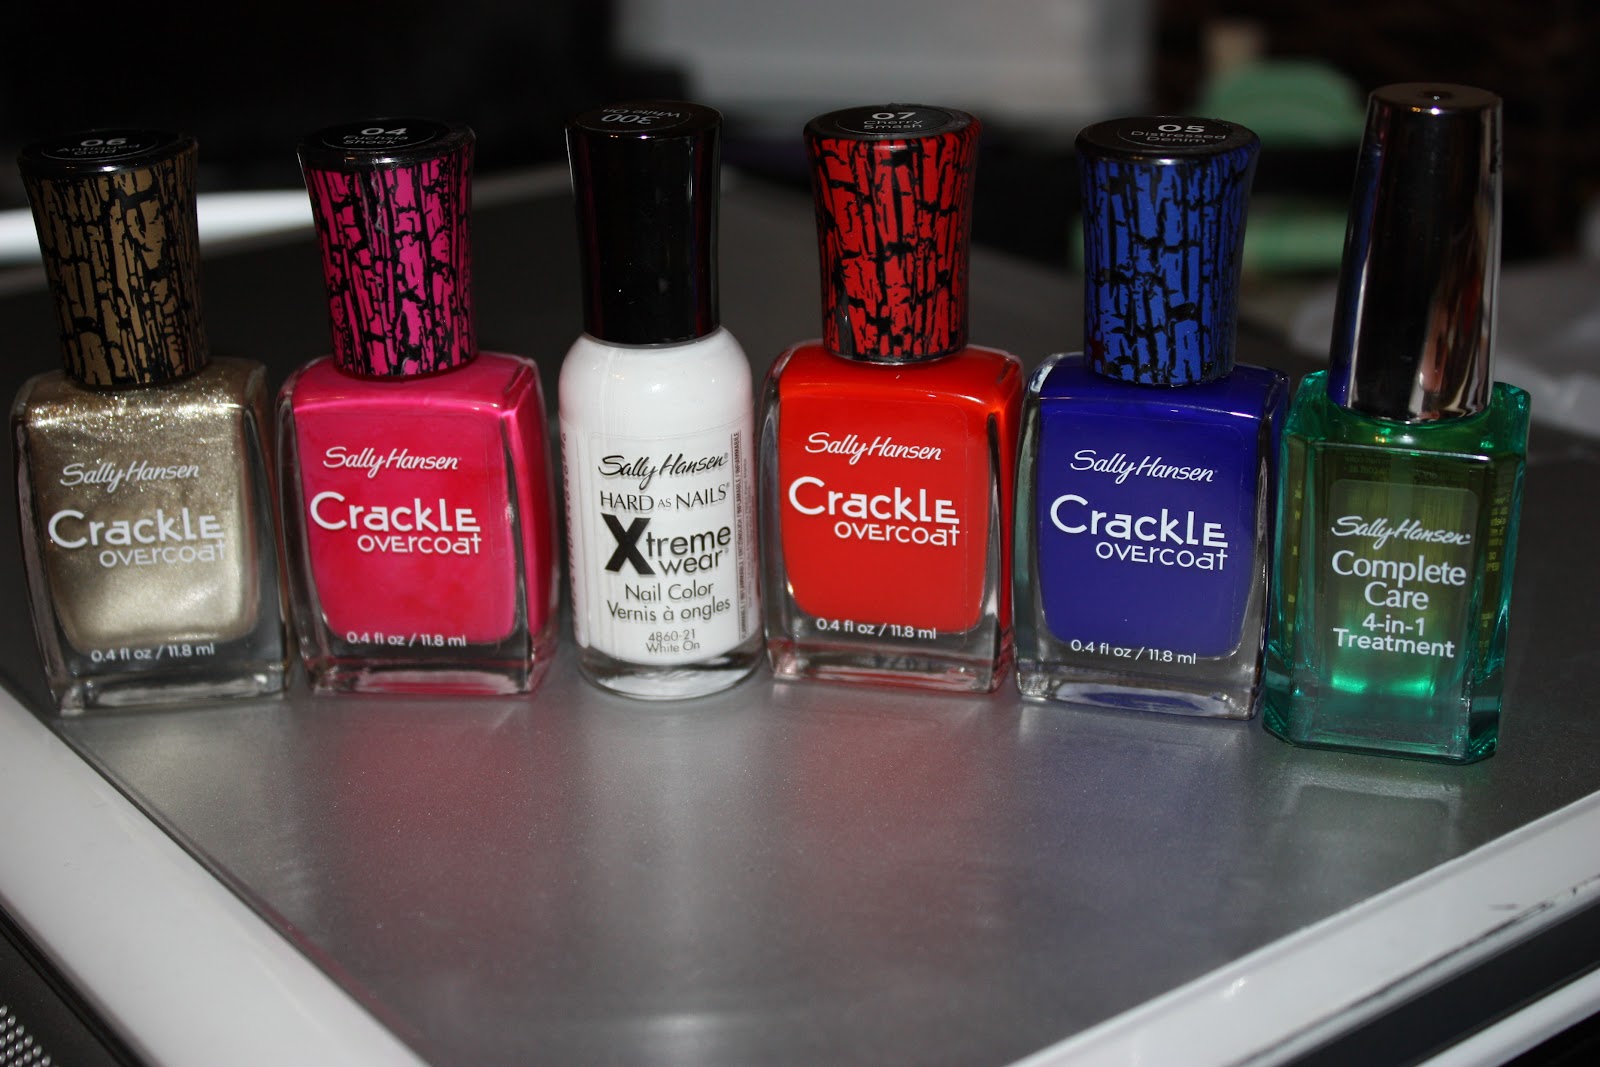
After appraising our selection of red polishes, we selected Sally Hansen #18 Cinna-Snap as the ideal 'blood' doppelganger. Several people stopped me while I was running errands asking to see my nails and inquiring how we got them to look like this.

Next, we applied the same varnish over a white base color.


It retrospect, we would have selected a more traditional red color to compliment the brightness of the white. We can picture this look with a scary clown costume. Yikes!

Finally, we used a black base color and switched to a metallic red so that it would be more visible against the black lacquer. We got a lot of compliments on this combination. It kind of looks like flames depending on the viewing angle.


Sally Hansen's 'Black Out' color was a great base color. It was super shiny and lasted through an evening of carving pumpkins and even scooping out the seeds.


Glambo's Bloody Manicure is super easy! First, we applied a base coat, and 'dripped' our 'bloody' polish over it to create our natural nail look. If you prefer a colored base, use that polish and let that coat dry. To add the 'blood,' select a red and keep a bit more polish on the brush than you would normally use. Start the 'drip' from the cuticle end and pull toward the edge of the nail. Repeat until the tips of your nails appear as they have been dipped in blood.  When applying your clear top coat, keep in mind that you may need to wipe your top coat brush on a paper towel before dipping it back into the bottle. This will prevent the red polish from transferring from your red tips and adding red streaks to the natural nail and white portions.

Happy Haunting! Have a spooktactular Halloween from Glambo!


Saturday, July 2, 2011

Glambo's Red, White & Blue Manicure

Happy 4th of July Everybody!


In honor of U.S. Independence Day, we decided to post our Red, White and Blue Manicure. Silvia L. created this look with Red and Blue Sally Hansen Crackle Overcoat on top of a white base.

Wearing red today? Why not try one of OPI's Blue or Navy Shatter Polishes? (See pictures and our review HERE.)

Whatever your plans this Fourth of July weekend, we hope that you have a safe and happy holiday as we celebrate and enjoy America's independence and freedom.

Monday, June 20, 2011

Sally Hansen Crackle Overcoat, Part Deux


You know that we can't seem to keep our hands off the crackle colors that are sooo very hot right now, and with the Sally Hansen price point and wide availability, it was a no-brainer that we had to try more colors! 

If you read our last review of Sally Hansen Crackle Overcoat  read here , you may recall that although we liked the crackle look, we had issues with the clumped product in the bottle, and the increasing difficulty of applying the product.  Well, here we are, giving it another shot. 

In an effort to avoid doing 4 different manicures, I decided to do a quick tween-style manicure using 4 colors: Antiqued Gold, Fuchsia Shock, Distressed Denim, and Cherry Smash, over Sally Hansen Xtreme Wear in White On, and topping it all off with Sally Hansen Complete Care 4-in-1 treatment for a glossy look. 

I was advised by the super helpful beauty clerks at Walgreens that one of their customers insists that the crackles will not work properly unless used with other Sally Hansen polishes (I now wonder if that customer was a Sally Hansen rep :-)

I began by painting all 10 digits with the Sally Hansen Xtreme Wear in White On (excuse my uneven nails).  This took me back to grade school, and painting my nails with White Out or Liquid Paper!


First Up: Antiqued Gold:


Again, the brush was very thin, but this time, the lacquer was not thick and clotted.  It was thin, and applied well.  In this case, I found that I had to load the brush fully, and then apply it.  It shattered in big clumps, and was sparkly and subtle over the white.  If I had cleaned up the cuticles, it'd look pretty cool.

Next Up: Fuchsia Schock


Again, it went on thin, and crackled well.


On to the right hand, and Distressed Denim:

Hmmm.  This color was a bit thicker, and the polish in the bottle started getting thick quickly.  I'm wondering if maybe this problem is unique to the darker pigmented colors.  Crackled well. 

Last but not Least: Cherry Smash


Just like the Distressed Denim color,  this polish was thick and harder to work with, but I may have to rock this look for this upcoming 4th of July!!!

Overall, I'd say this get's a GLAMBO Kiss on the Cheek.  For me, it's a fun "something different to try" , and for my tween, it's awesome. Remember, you need to work quickly with it, and keep the bottle covered as much as possible, so as not to dry out the product in the bottle. This is especially true in dry climates and if you are in a room with a fan on!

Straight from the Sally Hansen website: Do not leave the bottle open, close tightly when not in use. Allow it to dry and seal with any Sally Hansen top coat.

(To see our previous post with Sally Hansen Violet Crackle, click here.)

Tuesday, June 14, 2011

Sally Hansen Crackle Overcoat

Sally Hansen Crackle Colors:Pink, Red, Black, Blue, Gold, Silver, Purple, White

Hello Ladies! Are you tired of the shatter chatter yet? We didn't think we would purchase any more of these nail polishes. When we saw the Sally Hansen version at Walgreens, we had to give it a try. They have quite a selection of colors, and about half of them were in stock. We picked 02 Vintage Violet. It's a grape hued purple with a light blue / lavender iridescent overtone, which we used over a silver polish and base coat.


We like the 02 Vintage Grape color.
What we liked: The color breaks apart nicely and more quickly than some other shatter brands. The crackle marks are wider, which looks good. Sally Hansen Crackle Overcoat sells for less than $7.00 Retail, which is cheaper than the other polishes we have reviewed. Plus, there is the added benefit of coupons and store discounts that are readily available. This polish dries faster than any crackle that we have tried.

What didn't work:
1. The brush is narrow. We can usually polish with three strokes, and this one took at least four. That wouldn't be an issue except that the overlapping of the strokes created a darker striping effect and uneven color distribution.

2. The polish dried out very fast. Glambo recommends covering any shatter polish bottle as much as possible, but the Sally Hansen brand actually started clumping in the bottle.     

3. By the time we had polished seven out of ten fingers, we had to put polish remover on a Q-Tip and scoop the clumps out of the neck of the bottle. We even had to wipe off the brush to complete our manicure.

Our Q-Tip full of remover and chunks of Crackle Overcoat.
The brush and applicator have dried polish in multiple places.
See the clumping on the top of
the bottle & on the brush?
 

We have reviewed several polishes of this type, and have not had an issue to this extent. By the time we applied laquer to the last few fingernails, it was like we were smearing on grape jelly with a toothpick.

Please Note: The Sally Hansen Crackle Overcoat was used in a dry climate, and we are trying all of the other colors to give our readers a full assessment. Stay tuned for another Crackle Update! (Read Part Deux HERE.)
Related Posts Plugin for WordPress, Blogger...